Your pool light trips the breaker the second you turn it on. You reset it, try again, and it trips again. Something is wrong, and you need to find it fast.
A pool light that instantly trips a GFCI breaker has a ground fault somewhere in the circuit. The fault is either in the deck junction box, the cable, or the underwater fixture itself. Work through each location in order before touching anything near the water.
Before anything else, I need to say this clearly. Do not bypass the GFCI and replace it with a standard breaker just to keep the light on. That is not a workaround. That is a fatal mistake.
A GFCI trips the moment it detects 5 milliamps of current leaking off the circuit — into the water, into the ground, anywhere it should not go. It cuts power in milliseconds. That response speed is the only thing standing between a swimmer and electrocution. The breaker is not broken. It is doing its job. Respect it.
Why Does a GFCI Breaker Trip the Exact Second You Turn On the Pool Light?
The breaker trips instantly and you have no idea where the leak is coming from. It could be three different places, and guessing wrong wastes hours.
A GFCI trips instantly when it detects a current imbalance of 5mA or more between the hot and neutral wires. For a pool light, this almost always means current is finding a path to ground through water or damaged insulation. The location of that leak — junction box, cable, or fixture — determines your fix.
The key word is "instantly." A breaker that trips after a few seconds usually points to an overload. A breaker that trips the moment you flip the switch points to a hard ground fault — a direct, immediate leak. That narrows it down significantly.
There are three places this leak can live:
| Location | Common Cause | Urgency |
|---|---|---|
| Deck junction box | Moisture on wire nuts or conduit wicking | Check first — easiest to access |
| Underground cable | Cracked insulation, rodent damage | Check second |
| Underwater fixture | Water intrusion into the housing | Check last — requires draining |
Start at the junction box. Most people skip it and go straight to the light. That is a mistake.
Step 1: Inspect the Deck Junction Box (J-Box) for Hidden Moisture
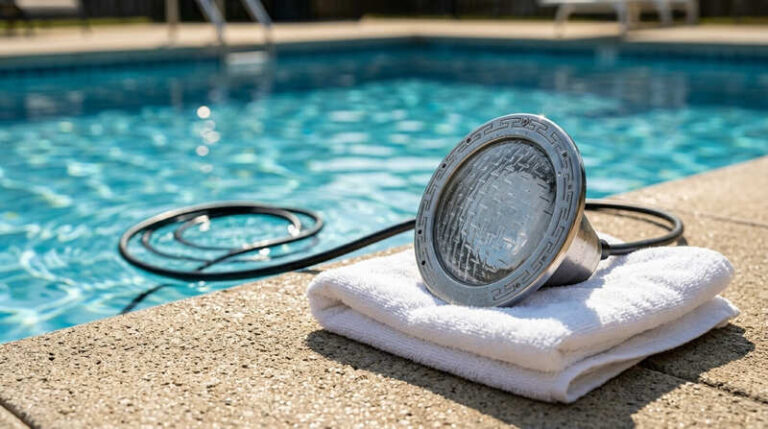
The junction box is right there on the pool deck, 8 inches above the waterline. It looks fine from the outside. It is probably not fine on the inside.
The deck junction box is the most overlooked cause of a tripping GFCI. Rain, irrigation spray, and condensation all find their way inside. Once moisture reaches the wire nuts, it creates a leakage path to ground. The breaker trips instantly, and most people blame the light.
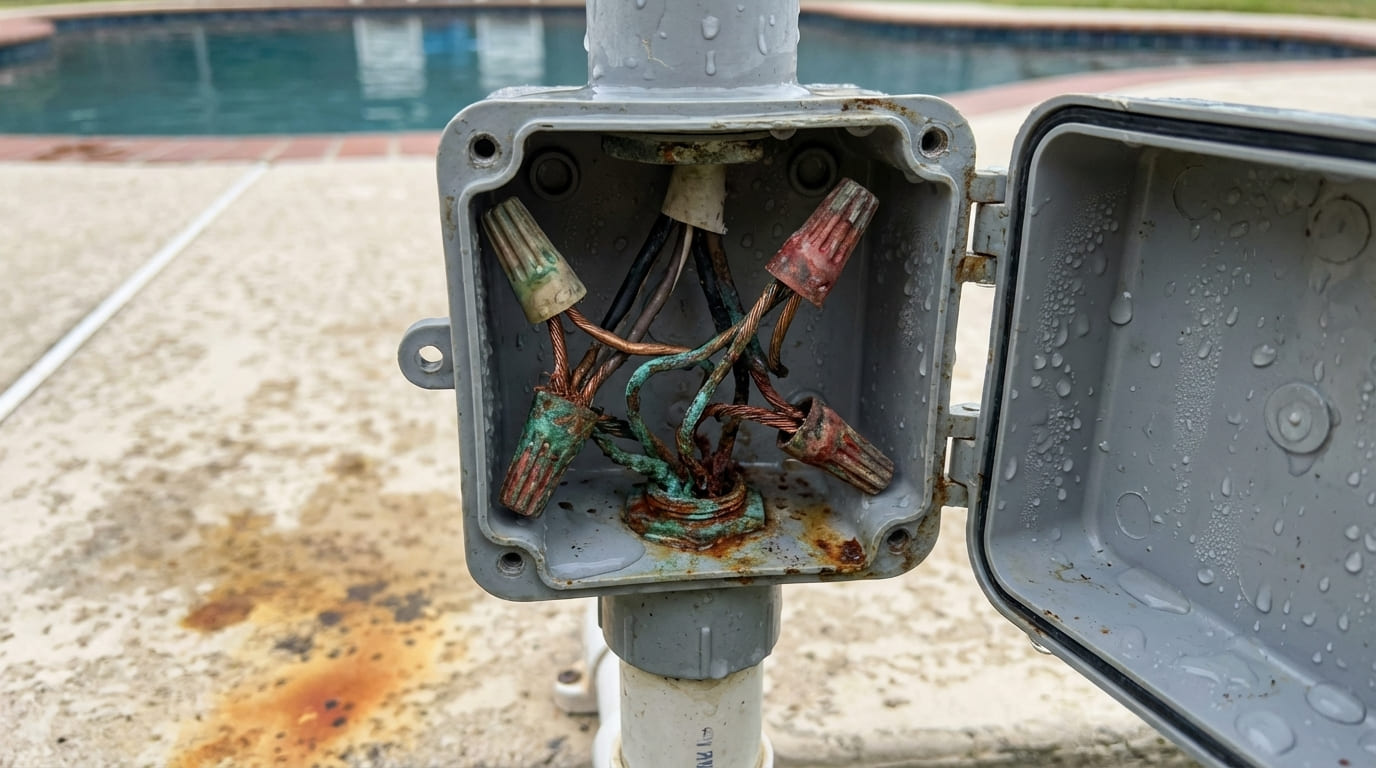
I have opened junction boxes that looked bone dry from the outside but had standing water inside. It gets in through two routes.
The first route is direct — rain or sprinkler water enters through a loose conduit fitting or an unsealed knockout.
The second route is slower and less obvious. It is called conduit wicking. The conduit runs from the junction box down the pool wall and connects to the underwater fixture. Over time, the potting compound that seals the conduit entry point degrades. Once that seal fails, pool water travels up the inside of the conduit by capillary action. It does not flood the box. It just creeps up slowly until the wire connections inside are damp enough to leak current.
Here is what to check when you open the box:
| What to Look For | What It Means |
|---|---|
| Wet or corroded wire nuts | Direct moisture entry — dry and re-seal |
| White mineral deposits on wires | Past water intrusion, now dried |
| Rust on the box interior | Long-term moisture problem |
| Damp conduit opening | Wicking from pool water — reseal with potting compound |
| Cracked or missing conduit seal | Immediate wicking risk |
If the box is wet, dry it out completely, replace the wire nuts, and reseal every conduit entry point with fresh potting compound. Then reset the GFCI. If it holds, the box was your problem.
If the box is dry, move to Step 2.
Step 2: The "Disconnect Test" — How to Know If the Breaker or the Light Is Bad
The junction box is dry and sealed. The breaker still trips. Now you need to know exactly where the fault lives before you do any more work.
The disconnect test isolates the fault in under five minutes. You disconnect the load wires at the junction box, cap them safely, then reset the GFCI. If it trips with the light disconnected, the breaker itself is faulty. If it holds, the fault is confirmed in the light or its cable.
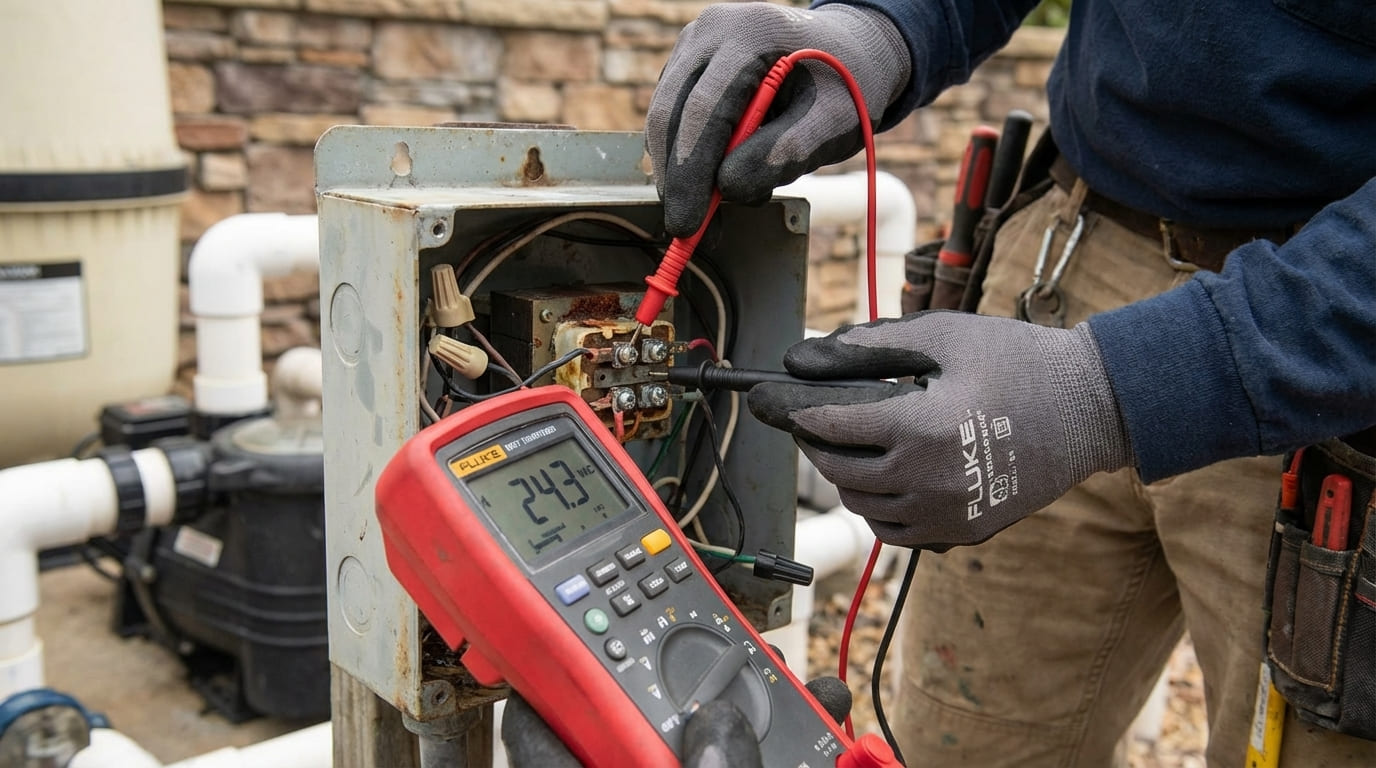
This test has saved my clients hundreds of dollars. GFCI breakers do fail on their own. After 10 or 15 years, the internal sensor drifts and the breaker starts tripping on ghost faults that do not exist. It is called nuisance tripping. Before you pull the light out of the niche, you need to rule this out.
Here is how to run the test safely:
| Step | Action |
|---|---|
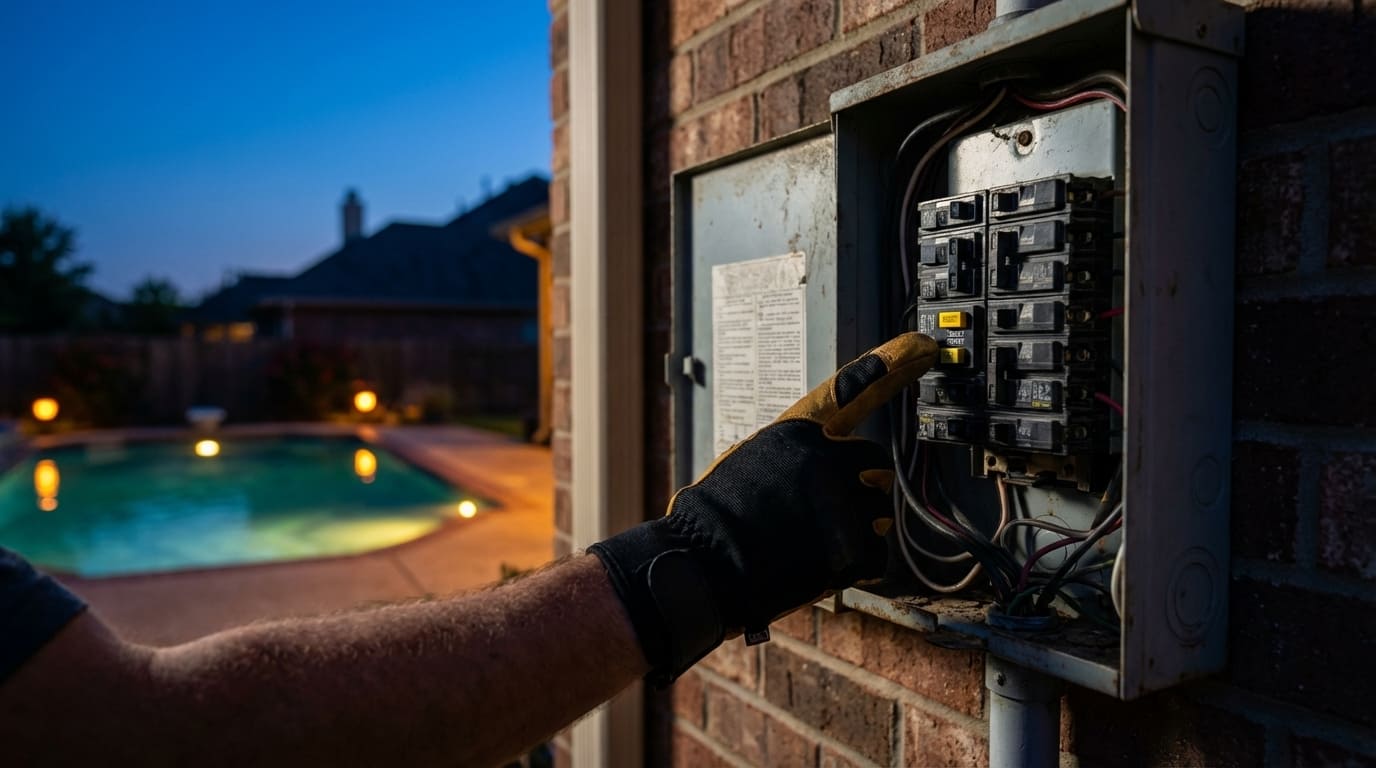
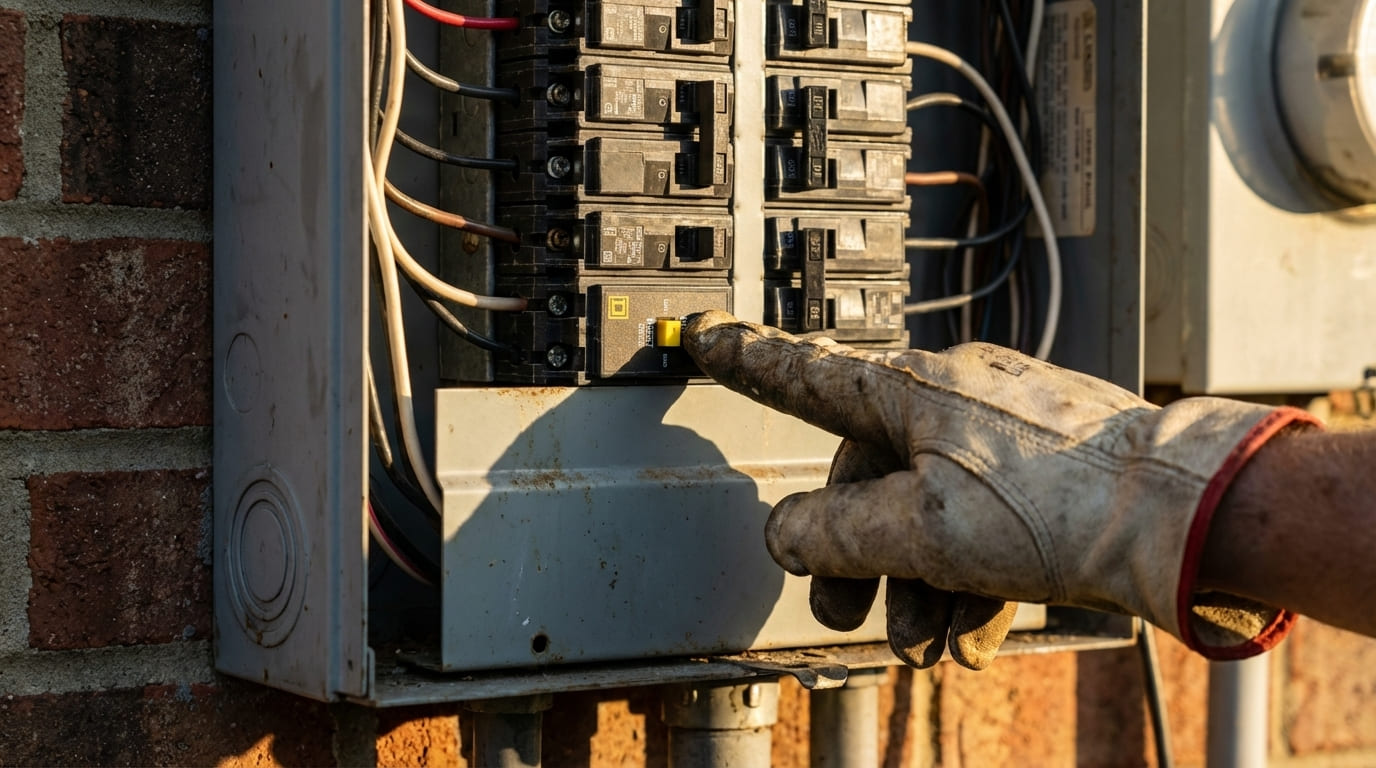
| 1 | Turn off power at the main panel — not just the GFCI |
| 2 | Open the junction box |
| 3 | Disconnect the load wires going to the pool light |
| 4 | Cap each wire separately with an insulated wire nut |
| 5 | Make sure no bare wire is exposed |
| 6 | Go to the panel and reset the GFCI |
| 7 | Flip the switch |
- Result A (GFCI trips): The light is fine. The breaker is faulty. Buy a new GFCI breaker — around $20 at any hardware store — and swap it out. Done.
- Result B (GFCI holds): The fault is 100% confirmed in the light or its cable. Move to Step 3.
Step 3: Checking the Underwater Fixture for Water Intrusion
The disconnect test confirmed it. The fault is in the light. Now you need to pull the fixture and find out why.
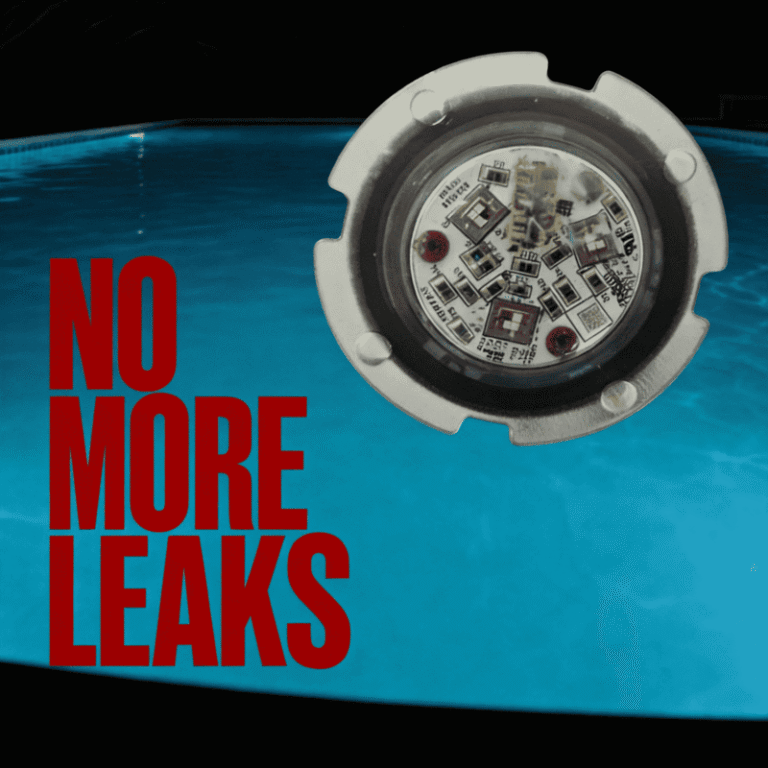
When an underwater pool light trips a GFCI, the cause is almost always water inside the housing touching the circuit board. Water creates a direct path from the live circuit to the pool water, which is grounded. The GFCI detects this in milliseconds and cuts the power.
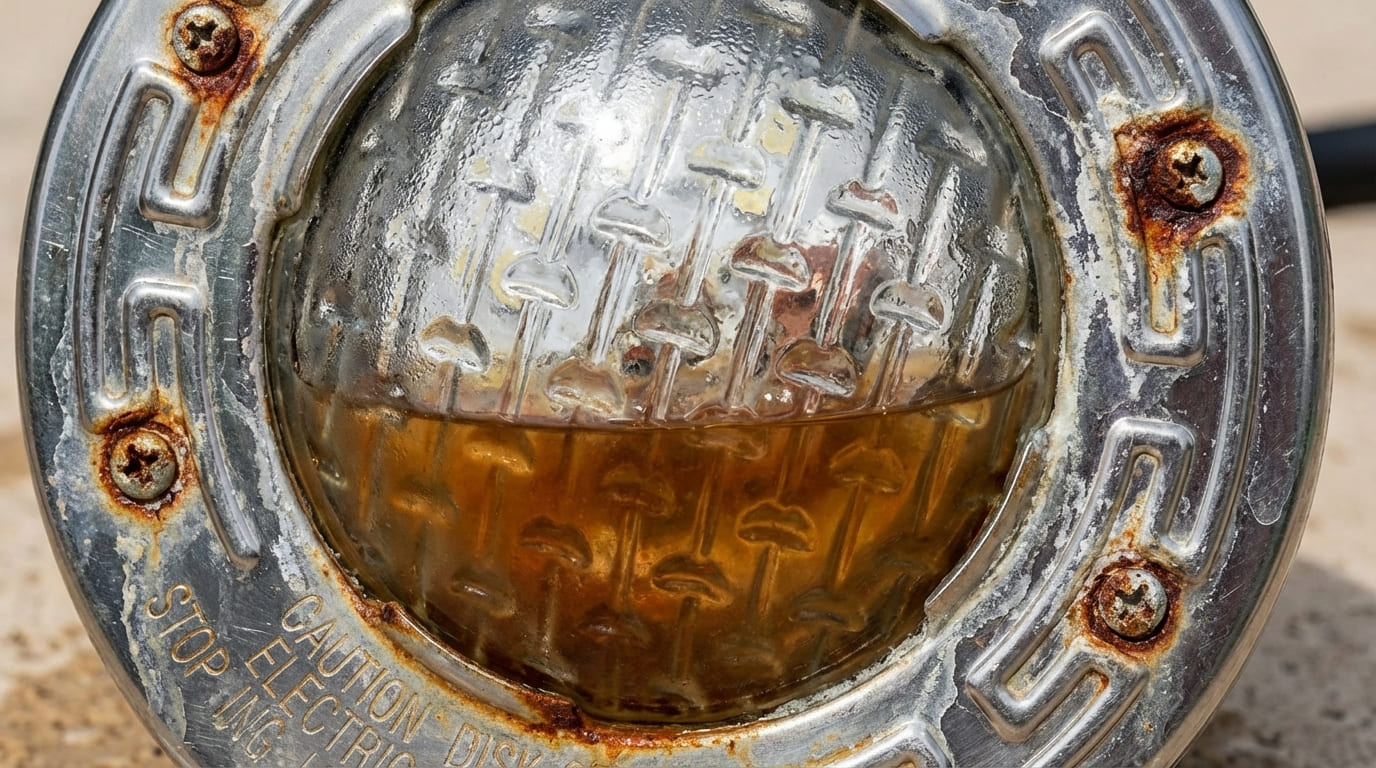
Here is the physics behind it. Traditional pool lights — including well-known brands — use a hollow plastic housing sealed with a rubber gasket. When the light is on, the bulb or LED module generates heat. The housing expands slightly. When the light turns off, the cold pool water drops the housing temperature fast. The air inside contracts.
This creates a vacuum effect that pulls water past the gasket seal. It is slow. It happens over hundreds of on-off cycles. But eventually, moisture reaches the PCB.
Once water contacts the circuit board, the result is instant. The water bridges the gap between a live component and the grounded housing or pool water. The GFCI detects the leak and trips. The board is now corroded. The light is not repairable.
| Sign | Meaning |
|---|---|
| Condensation or water visible inside lens | Water is already inside |
| Cracked, yellowed, or cloudy lens | Physical entry point for water |
| GFCI trips immediately when light reconnected | Active ground fault in fixture |
| Corrosion on the connector or cable end | Long-term moisture exposure |
If you see these signs, the fixture is dead. There is no repair. You need a replacement.
The Permanent Fix: Why Professionals Are Switching to Resin-Filled LED Lights
You could replace the dead hollow-shell light with another hollow-shell light. It will probably fail the same way in two or three years. Or you fix the problem at the root.
A fully resin-filled LED pool light eliminates water intrusion permanently. The entire internal assembly — PCB, LEDs, driver, all components — is cast inside solid resin. There is no air gap, no gasket to degrade, and no vacuum effect. Water cannot reach the electronics because there is physically no space for it to enter.
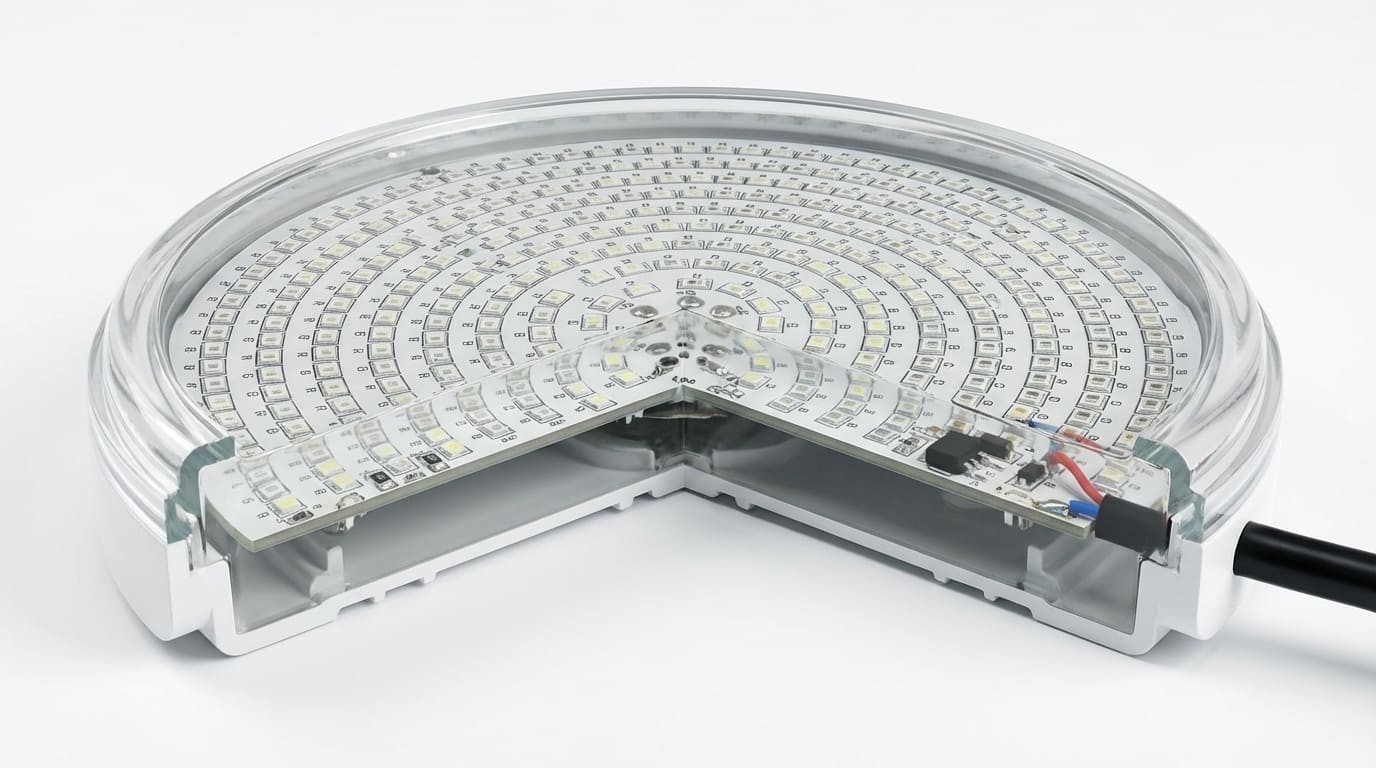
I want to be straight with you on this. Resin-filled lights are not perfect. If your voltage supply is unstable, two resin-filled lights can still go out of sync and show different colors — the same memory glitch issue I cover in my other guides. But that is a software issue. You fix it in 30 seconds with the wall switch.
The failure mode that kills a light permanently, the one that sends current into your pool and trips your GFCI, is water reaching the PCB. Resin filling makes that physically impossible.
| Feature | Hollow-Shell LED Light | Resin-Filled LED Light |
|---|---|---|
| Internal air gap | Yes — causes vacuum effect | No — fully solid |
| Gasket required | Yes — degrades over time | No |
| Vacuum effect on cool-down | Present | Eliminated |
| Water intrusion risk | Real — happens over time | Physically impossible |
| GFCI trip from water damage | Likely after 2–5 years | Does not happen |
One callback to fix a failed light costs more in unbillable labor than the price difference between these two fixture types. If you are replacing a light that failed from water intrusion, buying another hollow-shell unit is not saving money. It is scheduling your next callback.
We supply fully resin-filled LED pool lights direct to contractors. No distributor margin. No warranty runaround.
👉 See our fully compatible Resin-Filled Replacement Lights here if you want a replacement that will not put you back at the same job two years from now.
Conclusion
Run the disconnect test first to find where the fault lives. If it is the junction box, dry it and reseal it. If it is the light, replace it — and this time, use a resin-filled fixture so it does not happen again.
✍️ About the Author
Howard Wang – Senior Product Engineer
With over 10 years of experience in the swimming pool equipment industry, Howard specializes in LED thermal management and waterproofing solutions. He works directly with US distributors and pool builders to diagnose electrical failures and develop reliable, resin-filled alternatives that permanently solve common OEM failure