That moment when you realize you need to pull a new cord through 50 feet of underground PVC is the moment most experienced contractors go quiet. This one step can turn a $300 job into a $3,000 nightmare.
Pulling a new pool light cord through an existing conduit requires four things: a strong nylon pull line (mule tape), a smooth bullet-shaped splice, a lubricant applied from the junction box end, and two people working in sync. Skip any one of these and the cord will jam.
I have been in this industry for over 10 years. In that time, I have seen one mistake come up again and again. A technician ties the new cord directly to the old one and pulls hard. The old cord snaps inside the conduit.
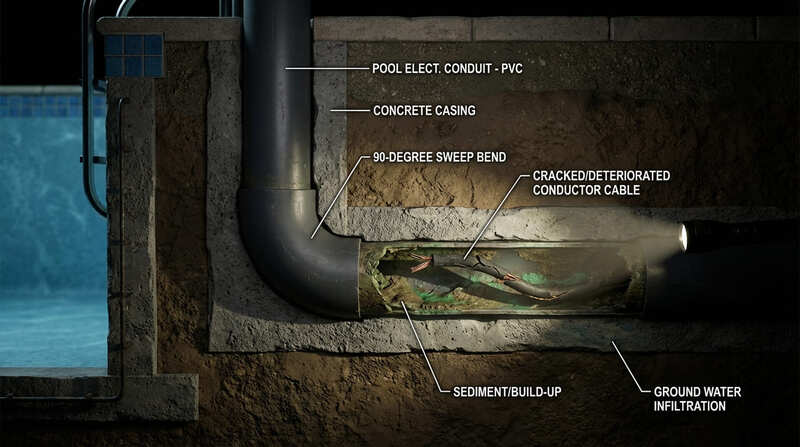
Now there is nothing to pull with, nothing to push from, and 50 feet of underground pipe sitting between you and a very bad day. If that conduit has a 90-degree sweep bend near the pool wall, you are not fishing anything out without breaking concrete.
This guide walks through every step of the correct method. Follow each one in order.
Why Is Pulling the Pool Light Cord the Most Dreaded Part of the Job?
You have done harder physical work than this. But nothing on a pool service job carries the same level of risk for a single wrong move.
Pulling a pool light cord is high-risk because the conduit runs underground from the pool niche to a junction box that can be 50 or 100 feet away. The PVC pipe makes at least one 90-degree bend. After years of use, the inside collects debris, and the old cord becomes brittle. Any of these factors can cause a jam.
The reason this step creates so much anxiety is that the consequences of failure are huge. Everything else on a pool light replacement job is straightforward. But the conduit pull sits in the middle of all of it.
Here is what makes this particular job so unforgiving:
| Risk Factor | Why It Matters |
|---|---|
| Conduit length | 30 to 100 feet of underground pipe means high friction. |
| 90-degree sweep | The cord must change direction at high tension — the most common jam point. |
| Old cord condition | PVC insulation becomes brittle after chemical exposure and snaps under load. |
| Debris inside | Years of sediment increase friction dramatically. |
| No backup plan | If the line breaks, there is nothing left to work with. |
Understanding these risks ensures you approach each step with the right amount of care.
Step 1: Why Should You Never Pull the New Cord Directly With the Old One?
Every instinct says to tie the new cord to the old one and pull it straight through. It is fast. It is also the single most reliable way to end up with a broken cord inside a sealed pipe.
Never attach the new pool light cord directly to the old cord and pull. The old cord's insulation is brittle and will snap under load. Instead, use the old cord to pull a strong nylon messenger line — called mule tape — through the conduit first. Then use that mule tape to pull the new cord.
Mule tape is a flat, woven nylon pull line used by electricians. It does not stretch, and it does not snap under friction. You can find it at any electrical supply counter.
Here is the correct sequence for Step 1:
| Action | Detail |
|---|---|
| Inspect the old cord | Look for visible cracking or stiffness before you touch it. |
| Attach the mule tape | Use a simple loop-and-knot connection to the old cord at the niche end. |
| Pull slowly | Move steadily from the junction box end — you are only dragging the tape through. |
| Stop on resistance | Do not increase force — work the cord gently if it catches. |
| Detach the old cord | Once the mule tape is through, it becomes your working pull line. |
The moment the mule tape is through the conduit, you have already done the hardest part of the job safely.
Step 2: How Do You Tape a Snag-Free, Bullet-Shaped Splice?
The mule tape is through. Now you need to connect the new cord to it. How you make this connection is the difference between a smooth pull and a jammed cord at the first curve.
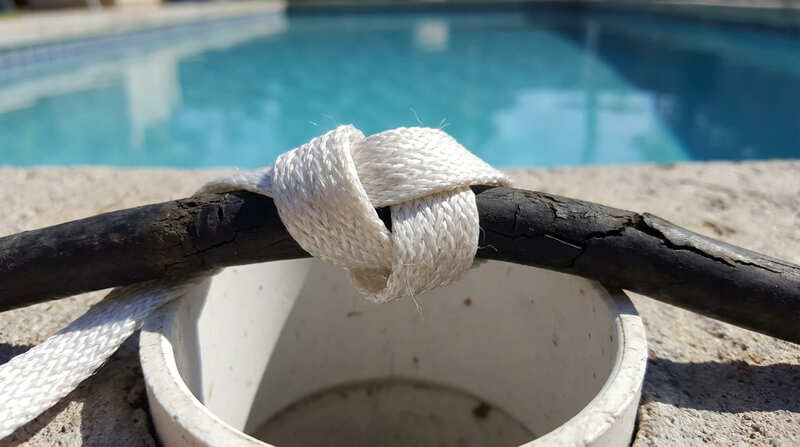
To make a snag-free bullet splice, strip the jacket from the new cord and cut the internal wires (black, white, green) to three staggered lengths. Fold these wires back along the cord, bind them to the mule tape, and wrap the connection tightly in electrical tape to create a smooth, tapered bullet shape.
The reason you stagger the wire lengths is purely mechanical. If all three wires end at the same point, you create a thick lump. That lump will catch on the 90-degree sweep. Staggering the cuts distributes the diameter gradually, just like a bullet.
Run your hand along the finished splice from front to back. You should feel a smooth, continuous taper. If anything catches on your palm, unwrap it and redo it. The conduit will find every imperfection your hand finds.
Step 3: What Is the Best Lubricant for Pulling a Pool Light Cord?
Friction is the enemy. A 50-foot run with a 90-degree bend creates massive friction, especially against years of built-up residue.
The most effective lubricant is a dedicated wire pulling gel. For a home repair, a concentrated solution of Dawn dish soap and water — poured directly into the conduit from the junction box end — works nearly as well to reduce friction and break down old residue.
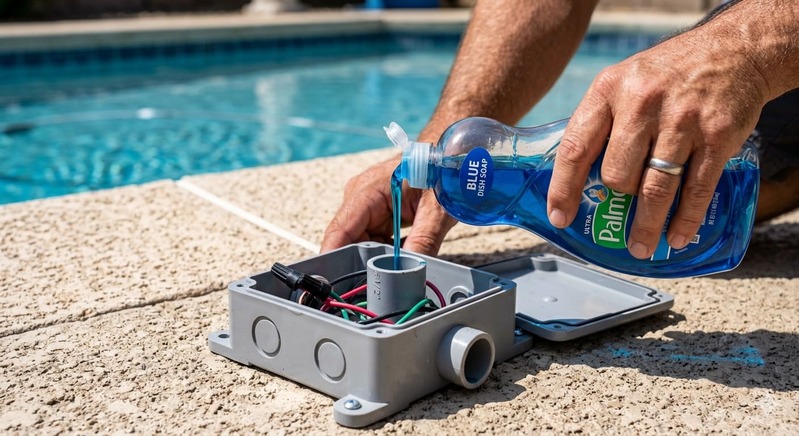
I want to address the dish soap method directly because it comes up constantly on Trouble Free Pool forums. The concentrated surfactant in Dawn dish soap breaks down the oily, chemical residue inside the conduit.
Pouring it in from the junction box end lets gravity carry it down through the pipe, coating the full length before you start pulling.
| Lubricant | Cost | Best For | Notes |
|---|---|---|---|
| Wire pulling gel | $15–$25 | Professional use | Stays in place, doesn't dry out. |
| Wire pulling spray | $10–$20 | Shorter runs | Good for coating the cord before the pull. |
| Dish soap & water | Under $5 | DIY home repairs | Pour from J-box end — let gravity distribute it. |
Apply lubricant before you start the pull, not after the cord gets stuck.
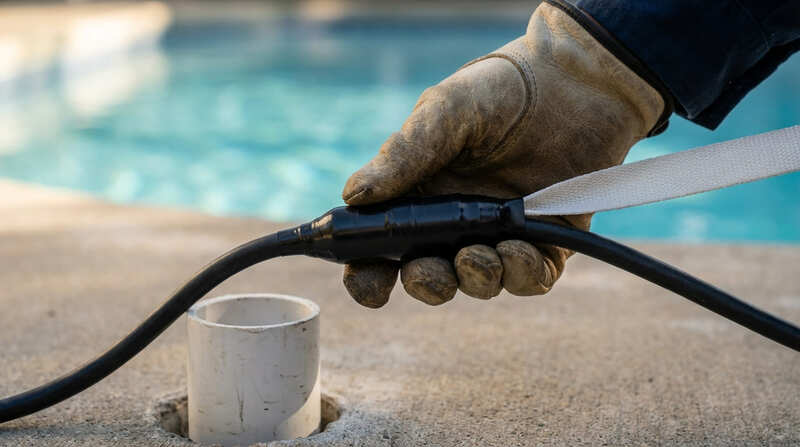
Step 4: Why Does the Two-Person Push and Pull Method Matter?
One person standing at the junction box pulling hard is not enough. The cord needs guidance at both ends.
Pulling a pool light cord requires two people working simultaneously. One person at the junction box pulls the mule tape with steady tension. One person at the pool niche feeds the new cord into the conduit, pushing it forward in sync with each pull.
The pulling force from the junction box addresses friction from the middle of the run to the exit. The pushing force from the niche addresses friction from the entry point to the first bend. Both forces applied at the same moment keep the cord moving continuously.
The most important rule: Stop together at the first sign of real resistance. Forcing through genuine resistance is how splices come apart and cords snap.
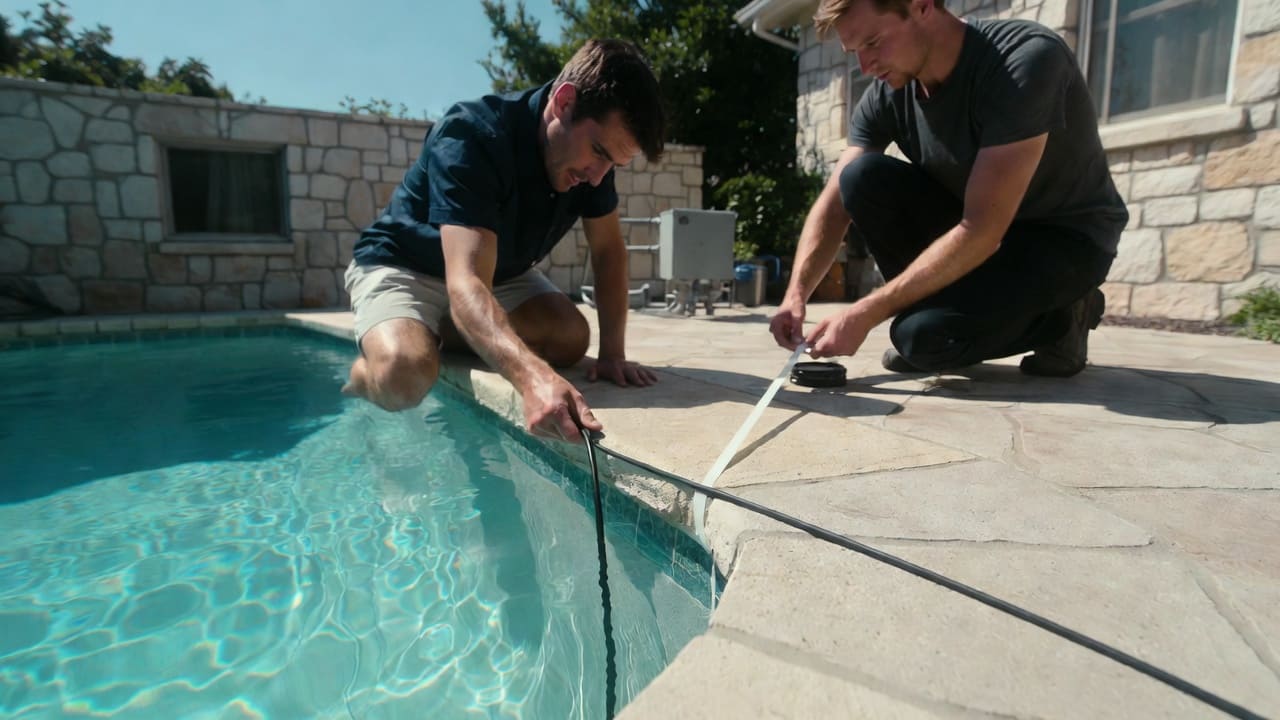
Step 5: How Much Slack Should You Leave in the Niche?
The cord is through. Now make a decision that will save you an hour of work on the next service call.
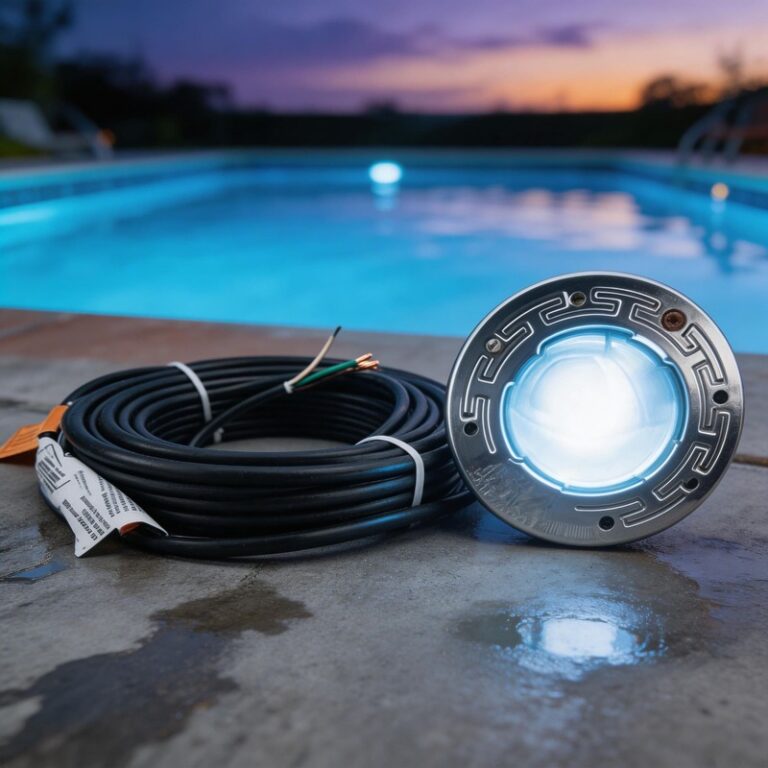
After pulling the new cord, leave 3 to 4 feet of extra cord coiled loosely inside the niche behind the light fixture. This slack loop allows you to pull the fixture up to the pool deck for servicing without draining the pool.
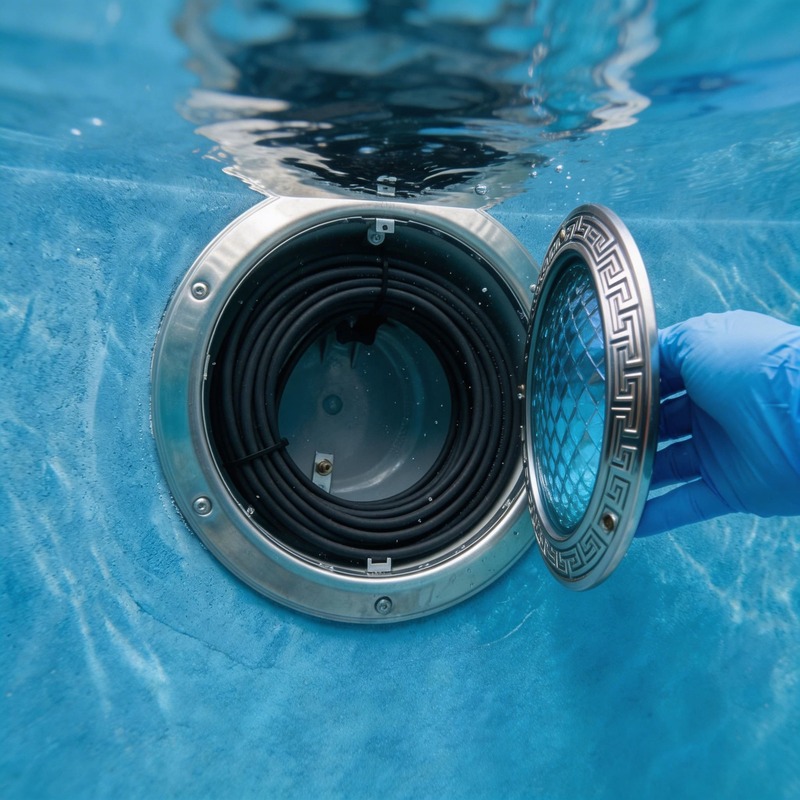
This is a functional requirement. Every traditional niche light is designed to be serviced by pulling the fixture out of the wall and up to the pool deck. The pool stays full. The technician works in the open air. This only works if there is enough cord coiled in the niche.
| Pool Configuration | Minimum Slack | Why |
|---|---|---|
| Standard in-ground pool | 3 feet | Enough to reach the deck edge. |
| Deep end placement | 4 feet | Extra depth means more distance to the deck. |
| Raised coping/elevated deck | 4 to 5 feet | The deck surface is farther above the niche. |
Coil the slack neatly in a loose loop before you seat the fixture.
For a detailed visual walkthrough of the full cord pull process—including the exact taping technique—I highly recommend watching this classic tutorial from Inyo Pools:
The Honest Truth: Stop Doing This Every Two Years
You finished the pull. Your hands are tired, and you are already dreading the next time this light needs service. As an industry insider, I must be honest: all pool lights eventually fail.
The industry is slowly moving towards waterproof plug-in connectors at the niche so you don't have to pull 100 feet of cord every time a light dies. But if you currently have a continuous cord system, your goal is to maximize the time before your next painful cord pull.
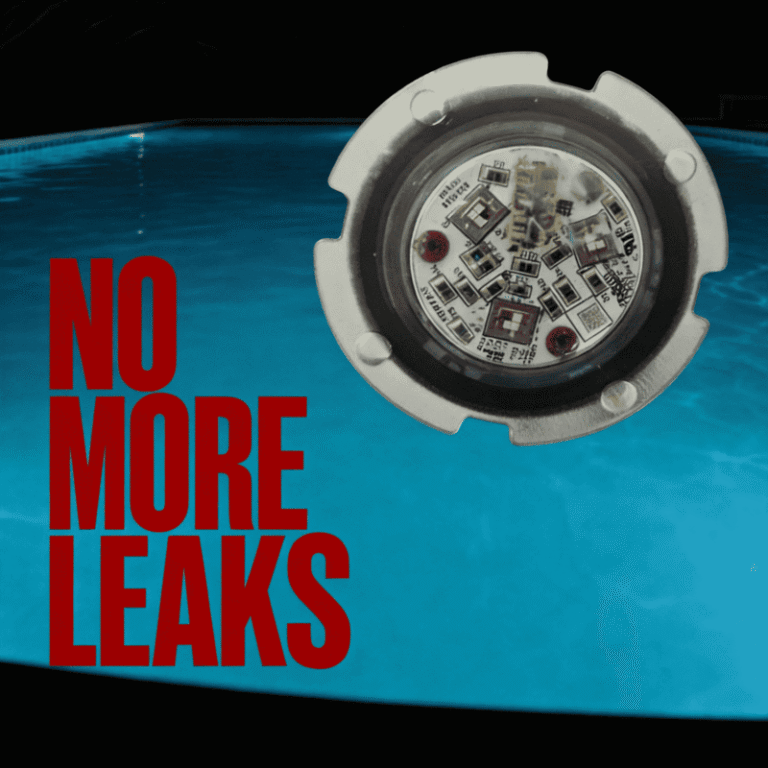
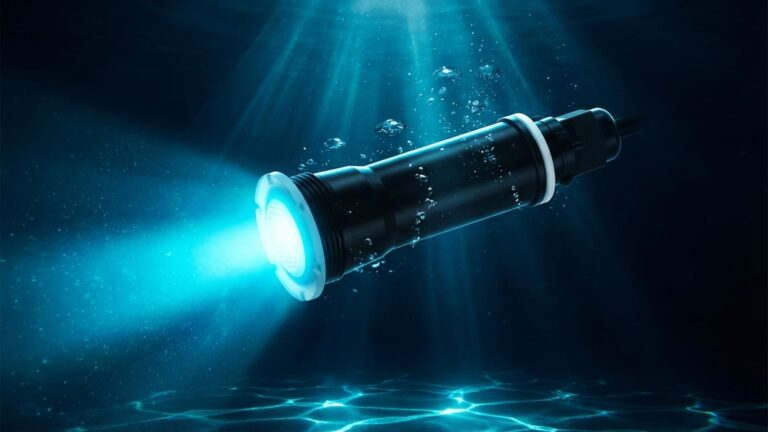
Instead of installing another hollow plastic light that will suck in water due to thermal expansion and fail in 2 years, upgrade to a 100% Fully Resin-Filled LED light.
A resin-filled light physically prevents water intrusion. It completely removes the "vacuum effect" because there is no air inside the housing to expand or contract. This buys you years of extra lifespan before you ever have to touch that underground conduit again.
✍️ About the Author
Howard Wang – Senior Product Engineer
With over 10 years of experience in the swimming pool equipment industry, Howard specializes in LED thermal management and waterproofing solutions. He works directly with US distributors and pool builders to diagnose electrical failures and develop reliable, resin-filled alternatives that permanently solve common OEM failure points.