By LazePool, Pool Equipment Engineer with 10+ Years of Experience
Someone told you that you need to drain the pool before you can replace the light. That person was wrong. You are about to waste thousands of gallons of water and a full week of chemical rebalancing for no reason.
I have been working with pool equipment for over 10 years, and the "drain the pool" myth is one of the most expensive pieces of bad advice in this industry. It costs homeowners real money, real time, and is completely unnecessary.
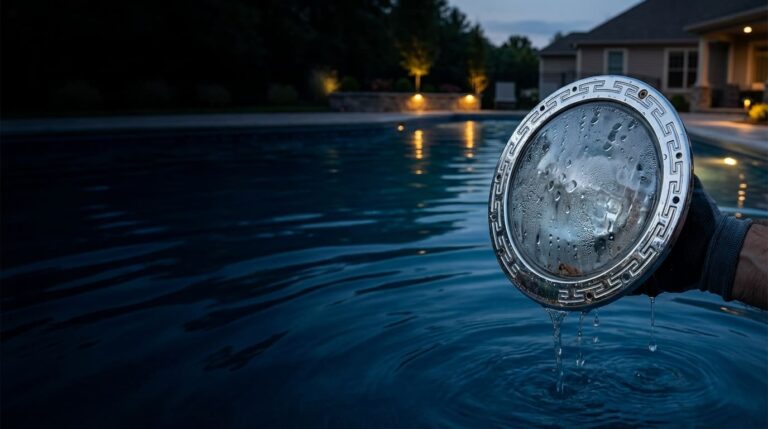
Almost every pool light ever made was designed to be serviced from the deck. Whether you have a traditional large light or a modern compact LED like the Pentair GloBrite, the whole job can be done with your feet dry. Let me show you exactly how the job is done — step by step, without touching the drain valve.
The Myth of Draining: Why Was Your Pool Light Designed to Reach the Surface?
Every first-time homeowner who hears "the pool light is out" immediately assumes the worst: Drain the pool. Call a diver. Block off the weekend.
None of that is necessary, and the reason comes down to how these fixtures were engineered from the start. Pool builders and manufacturers knew that lights would need regular service. Building a system that required full pool drainage every time a bulb burned out would make the product unusable.
So they solved the problem at the design stage. They either left extra cord length stored in the wall, or they used a quick-release fitting that allows the entire fixture to be pulled out from above.
Here is what this means for you in practical terms:
| Light Type | Service Access Method | Do You Need to Drain? | Approximate Reach Depth |
|---|---|---|---|
| Traditional Niche (e.g., Pentair Amerlite) | Unscrew single locking screw, pull cord slack to surface | No | Arm in water ~18 inches |
| Nicheless LED (e.g., Pentair GloBrite) | Unscrew or use removal tool, pull fixture through fitting | No | Arm in water ~12 inches |
| Flush-mount surface light | Typically screws into a surface bracket | No | Arm in water ~6–12 inches |
Everything else — pulling the fixture to the deck, opening the housing, swapping the component, resealing, and reinstalling — happens on dry ground. The pool stays full the entire time.
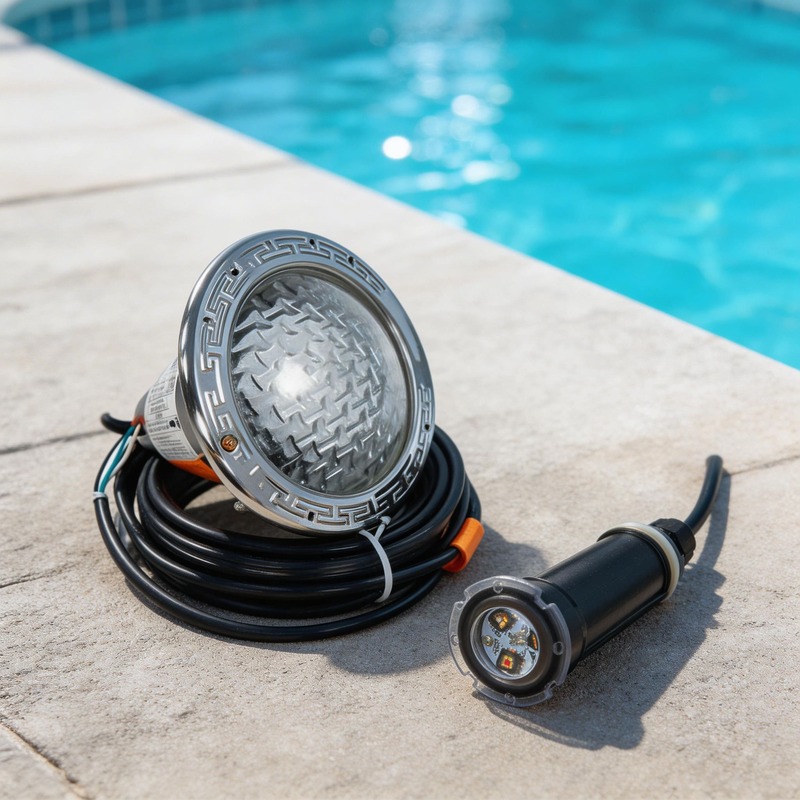
Wait, Which Light Do You Have? (Traditional Niche vs. 1.5-Inch Nicheless)
Before you pick up a screwdriver, you need to identify which type of light is installed in your pool. The two types require completely different removal techniques. Using the wrong technique will damage the housing or strip the fitting.
 *
*
Here is how to tell them apart without getting in the water:
| Feature | Traditional Niche Light | Nicheless LED (e.g., GloBrite) |
|---|---|---|
| Size | Large — typically 8 to 10 inches in diameter | Small — roughly 4 inches in diameter |
| Mounting | Single screw at the top of the trim ring (12 o'clock) | Threaded directly into a 1.5-inch return fitting |
| Cord Storage | 3 to 4 feet of extra cord coiled inside the wall niche | No slack stored. Full cord runs back through conduit |
| What Fails | Bulb, gasket, or lens seal | Entire sealed unit (water intrusion) |
| Replacement Scope | Bulb + gasket replacement, or full fixture swap | Full fixture and cord replacement |
This distinction matters a great deal. A traditional light can often be opened to change a bulb. A 1.5-inch nicheless LED (like the GloBrite) is a sealed unit; when it dies, you must replace the entire unit and pull a brand-new cord through the underground pipe.
Method 1: The "Coiled Cord" Trick for Traditional Niche Lights
If you have a traditional niche light, the lens is large, the trim ring is visible, and there is a single screw at the top. Here is exactly how the replacement works.

Follow these steps in this exact order:
| Step | Action | Key Detail |
|---|---|---|
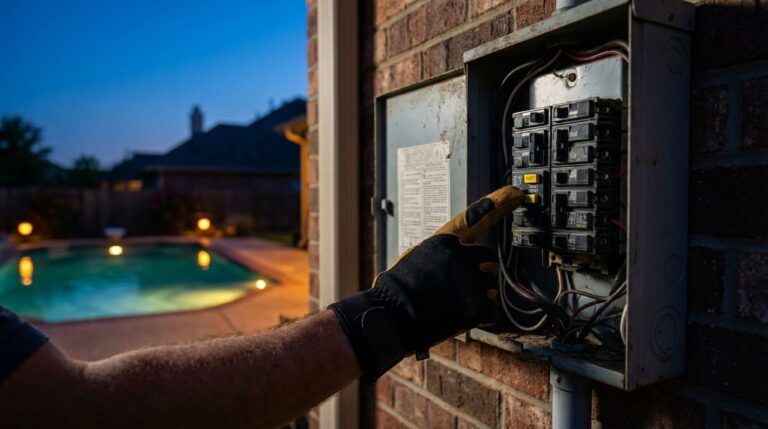
| 1 | Cut power at the breaker | Do not rely on the wall switch alone. Go to the panel and cut the breaker. |
| 2 | Remove locking screw | Reach ~18 inches into the water. Find the one screw at the 12 o'clock position. Don't drop it! |
| 3 | Pull fixture to deck | Tilt the light out from the top. The 3-4 feet of coiled cord inside the wall will feed out. |
| 4 | Open and dry | Lay it on a dry towel on the deck. Remove the retaining screws, open the housing, and wipe out any moisture. |
| 5 | Replace bulb & gasket | Swap the bulb. Crucial: Never reuse the old rubber gasket. Always install a new one. |
| 6 | Reseal and reinstall | Seat the new gasket evenly, tighten screws, feed the slack cord back into the wall, and secure the locking screw. |
Expert Warning: Replacing the rubber gasket is non-negotiable. Every time you open the housing, the old gasket loses its shape. Reusing a $2 gasket is the #1 reason newly repaired lights flood with water the next day.
Method 2: The "Pull and Fish" Technique for Nicheless LEDs (Like Pentair GloBrite)
Nicheless LEDs like the Pentair GloBrite look small and simple, but they don't have extra cord coiled behind them. The entire cord runs back through the conduit to the junction box. This is a full cord-pull job.
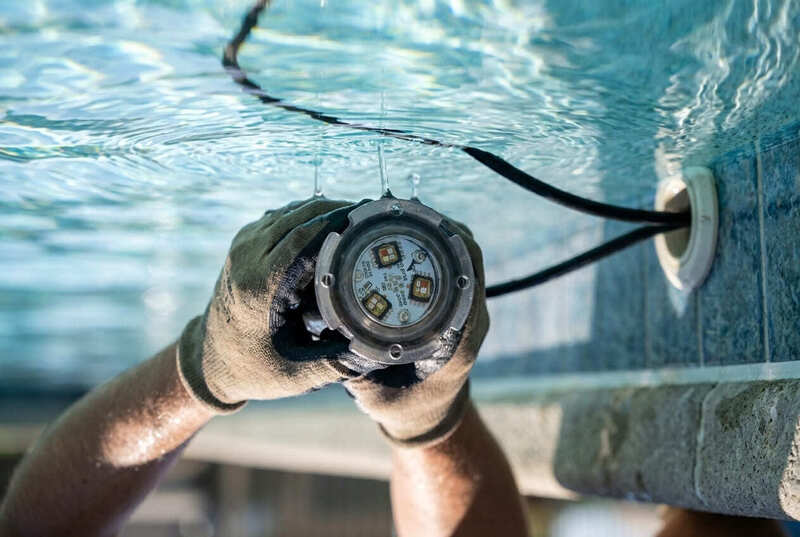
💡 Pro Tip from an Engineer: How to actually remove a stuck GloBrite
Many homeowners struggle to unscrew a GloBrite and end up breaking the plastic tabs. If you don't have the $15 plastic removal tool, do not just yank it! The GloBrite has a hidden locking tab.
You need to push the fixture IN slightly towards the wall first, and then twist it counterclockwise. You can carefully use a wide flathead screwdriver in the edge gap for leverage to pop it loose, but be very gentle to avoid scratching your pool wall.
Here is what makes this job different:
| Factor | Traditional Niche Light | Nicheless LED (GloBrite) |
|---|---|---|
| Fixture Removal | Flathead or Phillips screwdriver | Push in & twist, or use a removal tool |
| What You Replace | Bulb + gasket | Full fixture + full cord attached |
| Cord Pull Required | No | Yes — pull old cord out, fish new cord in |
Once the old fixture is popped out of the wall, you need to go to your pool's junction box, disconnect the wires, tie a string to the old wire, and pull it through the conduit from the pool side.
(If you are intimidated by pulling the wire, don't be. Read our step-by-step guide on How to Pull a New Pool Light Cord Through an Old Conduit for expert tricks on lubricating and fishing stubborn cords!)
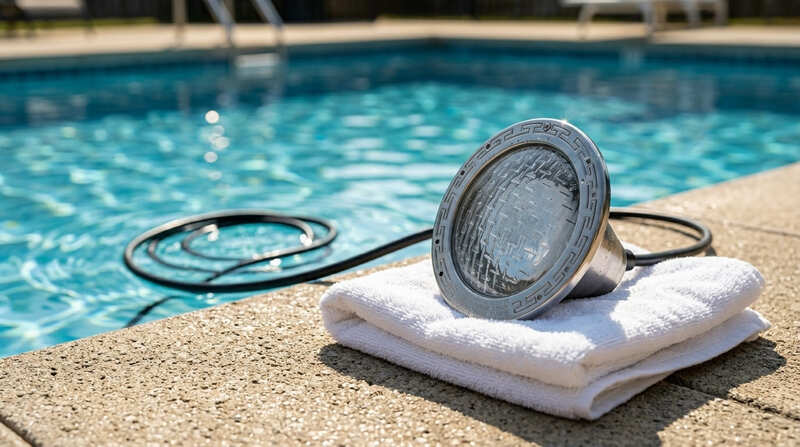
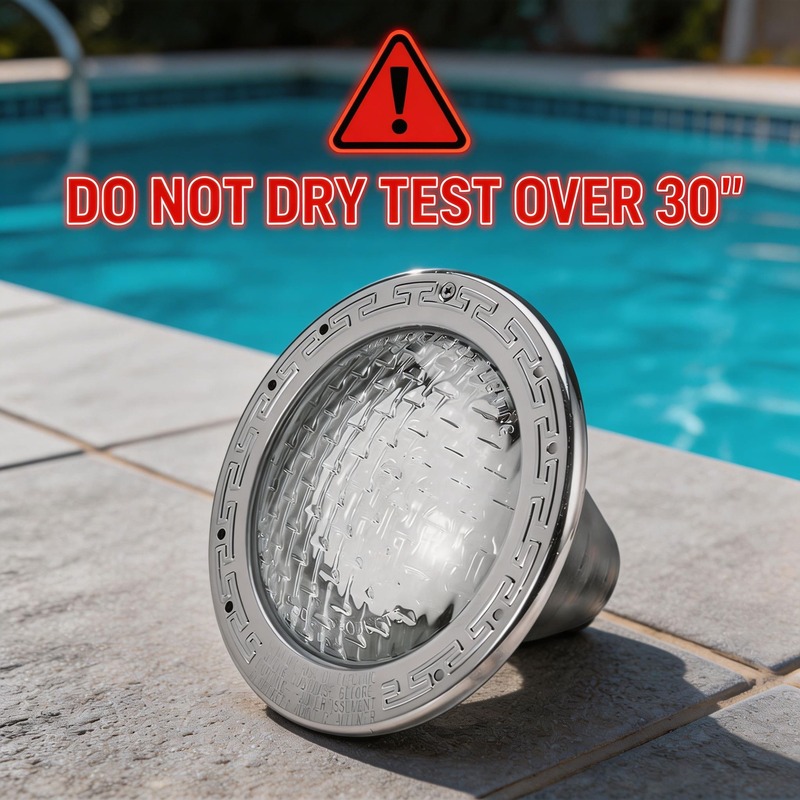
The Fatal Mistake: Never Dry-Test Your New Light for More Than 30 Seconds
The light is on the deck. The new fixture is wired up. The natural instinct is to flip the breaker and watch it run for a few minutes to admire your work before putting it in the water. Do not do this.
High-power LED pool lights use the pool water as their primary heat sink. The LED chips generate massive amounts of heat. Water conducts that heat away instantly. Air does not. Running a pool light out of the water causes the internal temperature to spike rapidly, frying the expensive motherboard.
Here is what happens inside the housing during a dry deck test:
| Time Out of Water | Internal Temperature | Component Status |
|---|---|---|
| 0–10 seconds | Rising but within safe range | Perfect for a quick wire check |
| 15–30 seconds | Approaching upper safe limit | Cut power immediately |
| 30–60 seconds | Exceeding design maximum | Driver board heat-stress begins |
| 90+ seconds | Critical overtemperature | Permanent failure — light is destroyed |
The Right Way to Test: While experienced techs might flick the power on for 5 to 10 seconds on the deck just to verify the wiring is correct, the absolute foolproof method is simple: Lower the fixture fully back into the water first, and then turn on the breaker to test it.
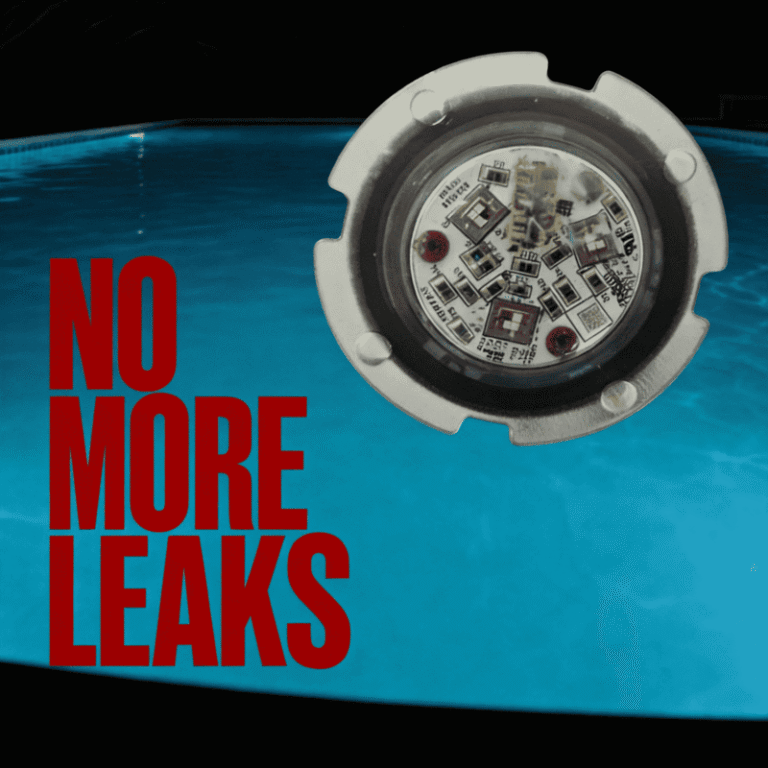
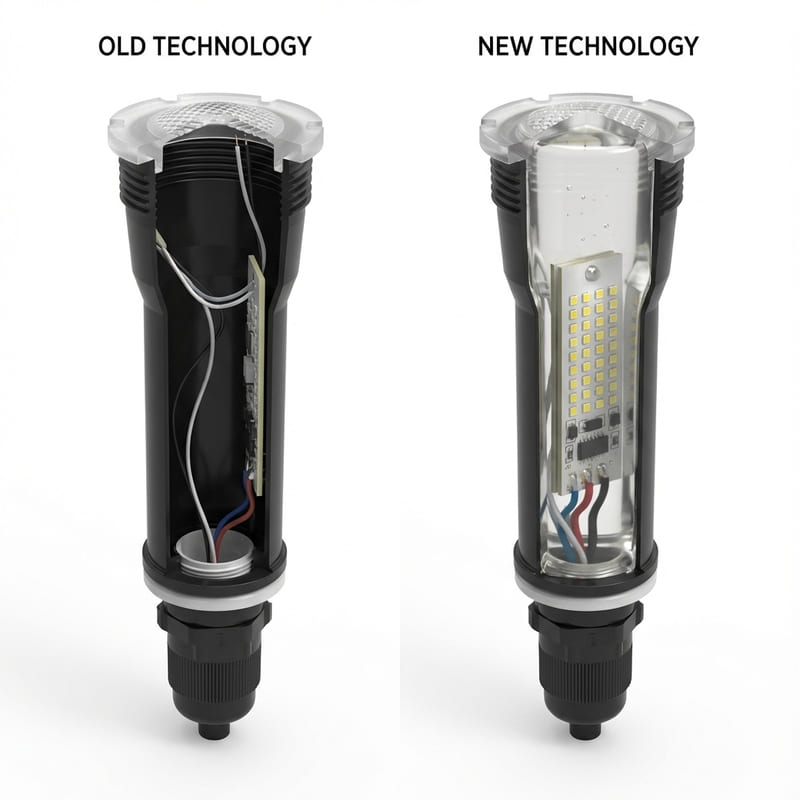
Break the Cycle of Leaky OEM Lights: A Smarter, Resin-Filled Alternative
If you just spent two hours on your knees pulling a dead GloBrite out of your pool, you already know its fatal flaw: Water intrusion.
Traditional OEM lights are hollow inside. Every time the pool water heats up and cools down, the air inside that hollow casing expands and contracts (thermal cycling). Over time, this creates a vacuum effect that destroys the plastic seals, sucking water directly into the LED driver board.
Why would you pay 4x the price to install the exact same hollow plastic light, just to repeat this grueling replacement job in 2 to 4 years?
As a pool equipment engineer, this structural flaw is exactly why we recommend upgrading to our Fully Resin-Filled LED Replacement Light .
Here is why upgrading to a solid resin-filled light is the smartest choice you can make today:
| Feature | Standard Hollow OEM Light | Our Resin-Filled Upgrade (cp-fc-pc55) |
|---|---|---|
| Internal Structure | Hollow air cavity | 100% Solid Epoxy Resin Fill |
| Water Intrusion Risk | High (Thermal vacuum effect) | Zero (No air cavity for water to enter) |
| Price | $600 - $800+ | Roughly 1/4 the cost of OEM |
| Automation Compatibility | Yes | Yes (100% compatible with Pentair systems) |
You have already done the hard part — figuring out the light type and preparing for the cord pull. Don't let a poorly designed hollow light ruin your weekends anymore.
Upgrade to a permanent physical barrier against leaks. Click below to get your structurally superior, resin-filled alternative and get back to enjoying your brilliantly lit pool tonight!
👉 Click Here to Shop the Resin-Filled GloBrite Alternative Now!
✍️ About the Author
Howard Wang – Senior Product Engineer
With over 10 years of experience in the swimming pool equipment industry, Howard specializes in LED thermal management and waterproofing solutions. He works directly with US distributors and contractors to develop resin-filled alternatives that solve common OEM failure points.