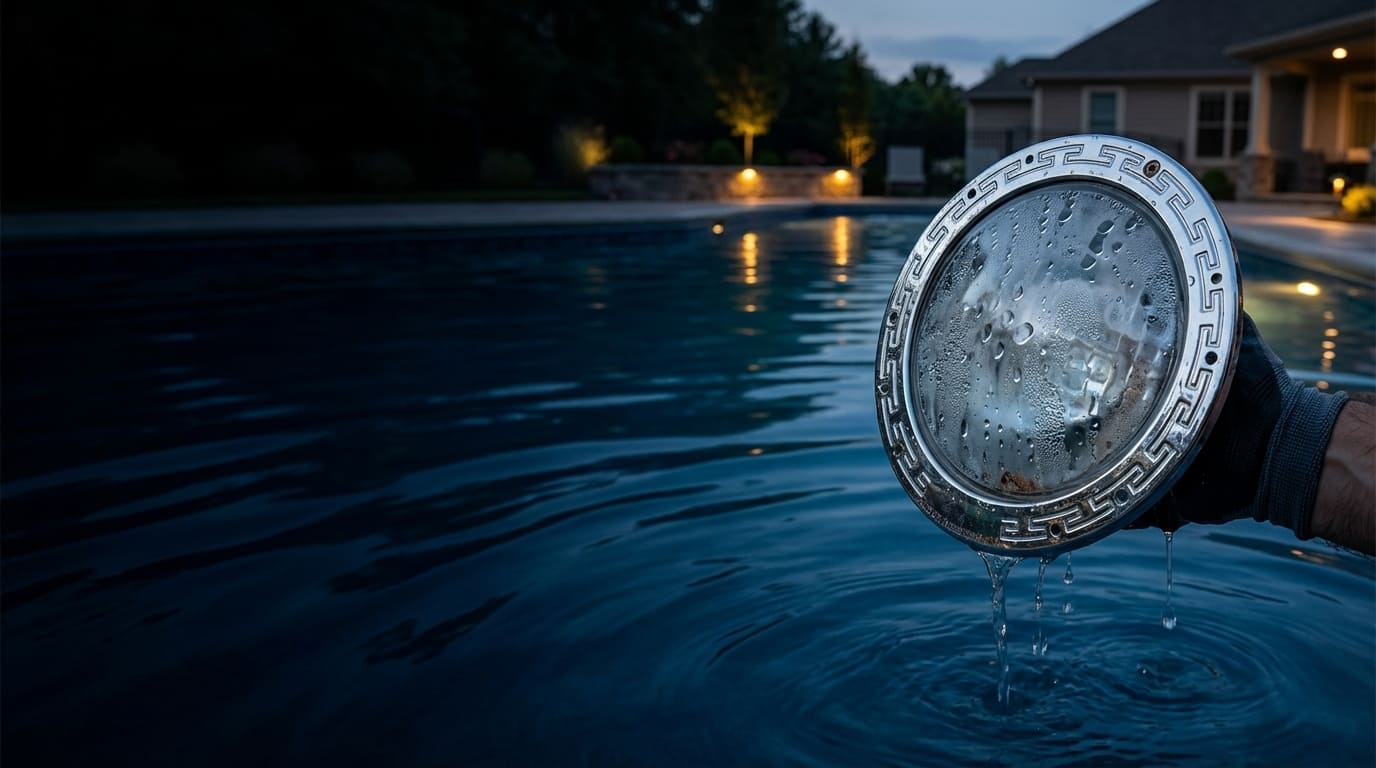
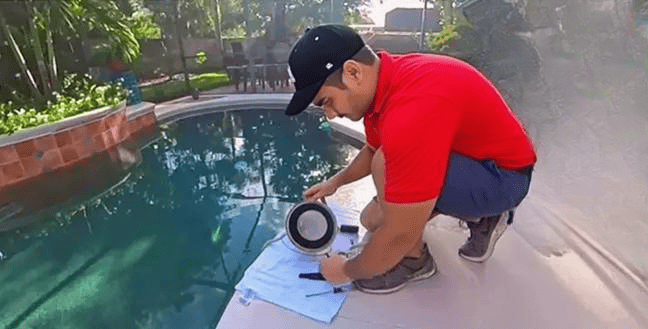
You looked into your pool and saw fog or water sloshing inside the light lens. Before you pull out your wallet, stop. You may not need a new light at all.
Whether you repair or replace a pool light with water inside depends entirely on the type of light you have. Traditional niche lights with a steel housing and glass lens can almost always be repaired with a bulb swap and a new gasket. One-piece sealed LED lights like the Pentair GloBrite cannot be repaired once water gets in. Identify your light type first — that one step decides everything.
This is not a situation where one answer fits every pool. I have seen contractors throw away a perfectly fixable $200 traditional fixture because they did not recognize what they were looking at. I have also seen homeowners waste an afternoon trying to seal a one-piece LED light from the outside with silicone — which does nothing. The type of light you have is the only thing that matters here, and I will help you figure that out right now.
Wait, Which Type of Pool Light Do You Have?
You are standing at the edge of the pool looking at a wet light and you are not sure what to do next. The answer to every question in this article starts with knowing what kind of fixture you are dealing with.
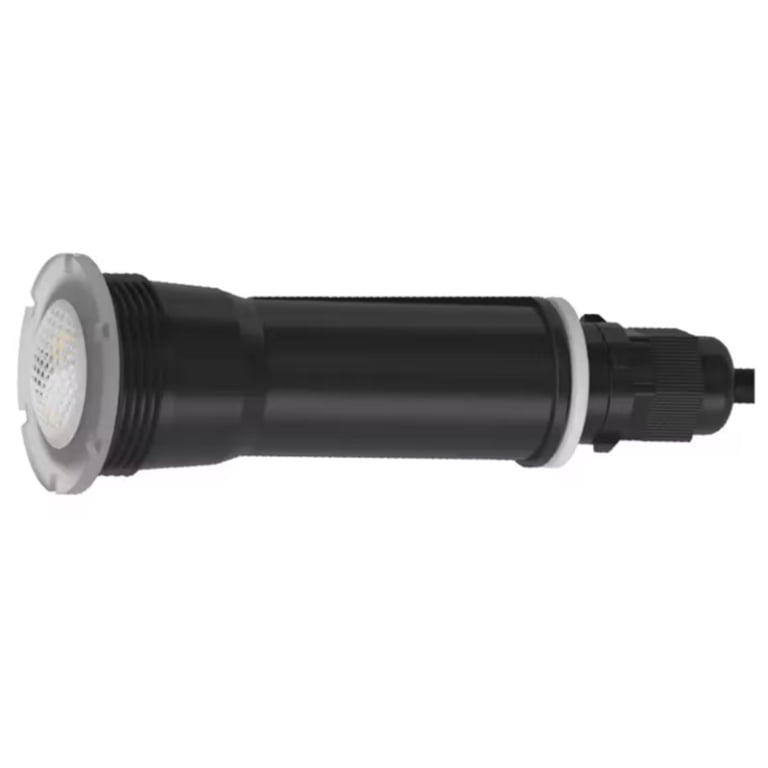
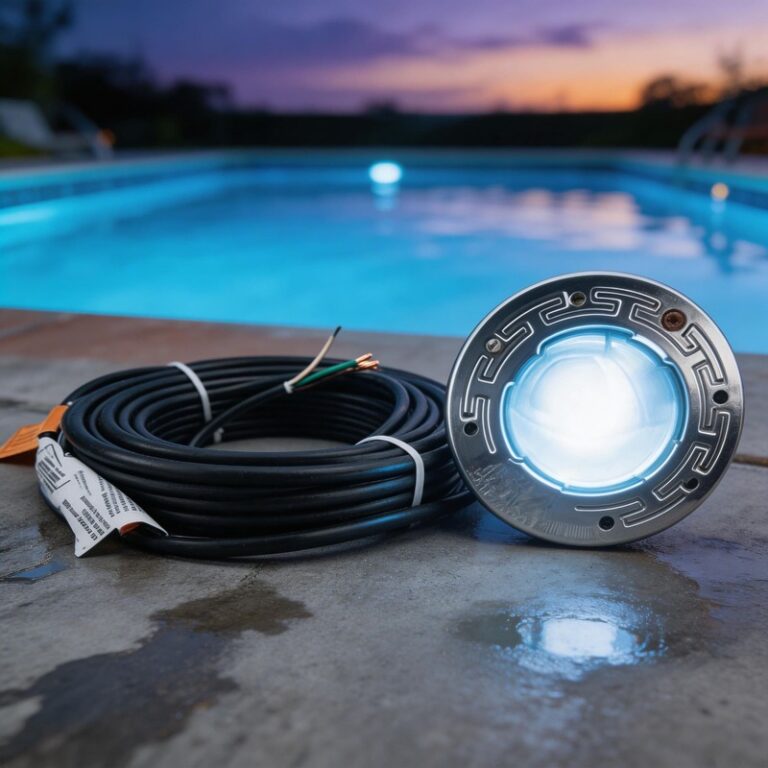
There are two types of pool lights. Traditional niche lights have a heavy stainless steel or brass housing, a glass lens, and a thick rubber gasket around the rim. Inside is a standard E26 or E27 screw-in bulb you can replace. Sealed nicheless LED lights like the GloBrite are small, one-piece plastic units. The shell is machine-welded shut at the factory and there is no way to open it.
!
The fastest way to tell them apart is to look at the housing material and the size. Traditional niche lights are large and heavy. The front lens is glass and you can see a ring of screws or a locking clamp around the edge. If you remove the one mounting screw at the top and pull the fixture out of the wall, you will feel the weight of steel in your hands.
Sealed LED units are small and light. The body is plastic. There are no screws on the lens face. The whole thing feels like one molded piece — because it is.
| Here is a side-by-side comparison to help you confirm which one you have: | Feature | Traditional Niche Light | Sealed LED (e.g., GloBrite) |
|---|---|---|---|
| Housing material | Stainless steel or brass | Plastic | |
| Lens material | Glass | Polycarbonate plastic | |
| Screws on the lens face | Yes | No | |
| Bulb inside | Yes — E26/E27 screw-in | No — LEDs soldered to PCB | |
| Rubber gasket | Yes — thick, replaceable | No | |
| Can be opened | Yes | No — machine welded | |
| Common examples | Pentair Amerlite, Hayward Swim N Play | Pentair GloBrite, Hayward ColorLogic | |
| Water inside = repairable? | Yes, in most cases | Never |
Once you know which light you have, the path forward is clear. Traditional light — keep reading through Step 2 and Step 3. Sealed LED light — skip ahead to the section on why those cannot be repaired.
How Do You Repair a Traditional Pool Light?
You have a traditional niche light and water got inside. Here is the good news: you almost certainly do not need to drain the pool, and you almost certainly do not need to buy a new fixture.
To repair a traditional pool light, unscrew the single mounting screw at the top of the niche, pull the fixture up to the pool deck, and lay it on a dry towel. Open the housing, pour out the water, dry every surface completely, replace the bulb if it failed, install a brand new rubber gasket, clean the lens and housing rim until they are spotless, then reassemble and return the light to the niche.
Here is something worth knowing before you start. You do not need to lower the water level. Traditional niche lights are installed with a long cable that loops back inside the niche behind the fixture. There is enough slack in that cable to pull the entire light up to the pool deck and work on it in the open air. The pool stays full the whole time.
Work through the repair in this order:
| Step | Action | Detail |
|---|---|---|
| 1 | Remove the single mounting screw | It is usually at the 12 o'clock position on the face ring |
| 2 | Pull the fixture to the deck | Lay it on a dry towel — the cable has enough slack |
| 3 | Open the housing | Remove the face ring screws or clamp, lift the glass lens off |
| 4 | Pour out the water | Tip the housing forward and drain it completely |
| 5 | Dry every surface | Use a clean towel, then let it sit open in the air for 20 to 30 minutes |
| 6 | Inspect the bulb | If it burned out or shows blackening, replace it now |
| 7 | Replace the gasket — no exceptions | A new gasket costs around $15. Do not skip this. |
| 8 | Clean the lens rim and housing rim | Any debris here will create a leak point the moment you close it up |
| 9 | Reassemble and return the light | Tighten screws evenly in a cross pattern to seat the gasket flat |
While the fixture is open and sitting on the deck, this is the best time to upgrade the bulb. Most traditional niche lights were originally fitted with 300W or 500W incandescent bulbs. Those bulbs draw a huge amount of power and they generate a lot of heat, which accelerates gasket aging. A direct-replacement LED bulb for the same E26 or E27 base runs at 30W to 45W, puts out the same or more light, runs cooler, and lasts far longer. The cost difference pays for itself quickly.
The most important rule in this entire repair is the gasket. I cannot say this clearly enough: do not reuse the old gasket. It does not matter if it looks fine. A rubber gasket that has been compressed under water for two or three years has lost its ability to spring back and form a tight seal. Put it back in and the water will find its way through within months. A new gasket for a Pentair Amerlite or comparable fixture costs about $15 at any pool supply counter. That $15 part is the difference between a repair that lasts and a repair that brings you back to the deck in a year doing the same job again.
What Is the Fatal Mistake People Make When Testing New Bulbs?
| You just installed a fresh LED bulb, closed up the housing, and you want to make sure it works before you send the light back into the water. You flip the switch and let it run while you clean up. This is where things go wrong. Never run a pool light bulb on the open deck for more than 20 to 30 seconds. Pool lights are designed to use the surrounding water as a heat sink. Out of the water, a high-wattage pool bulb — including LED replacement bulbs — builds heat rapidly inside the sealed housing with nowhere to go. Running it dry for more than 30 seconds can destroy a brand new bulb before it ever touches the water. 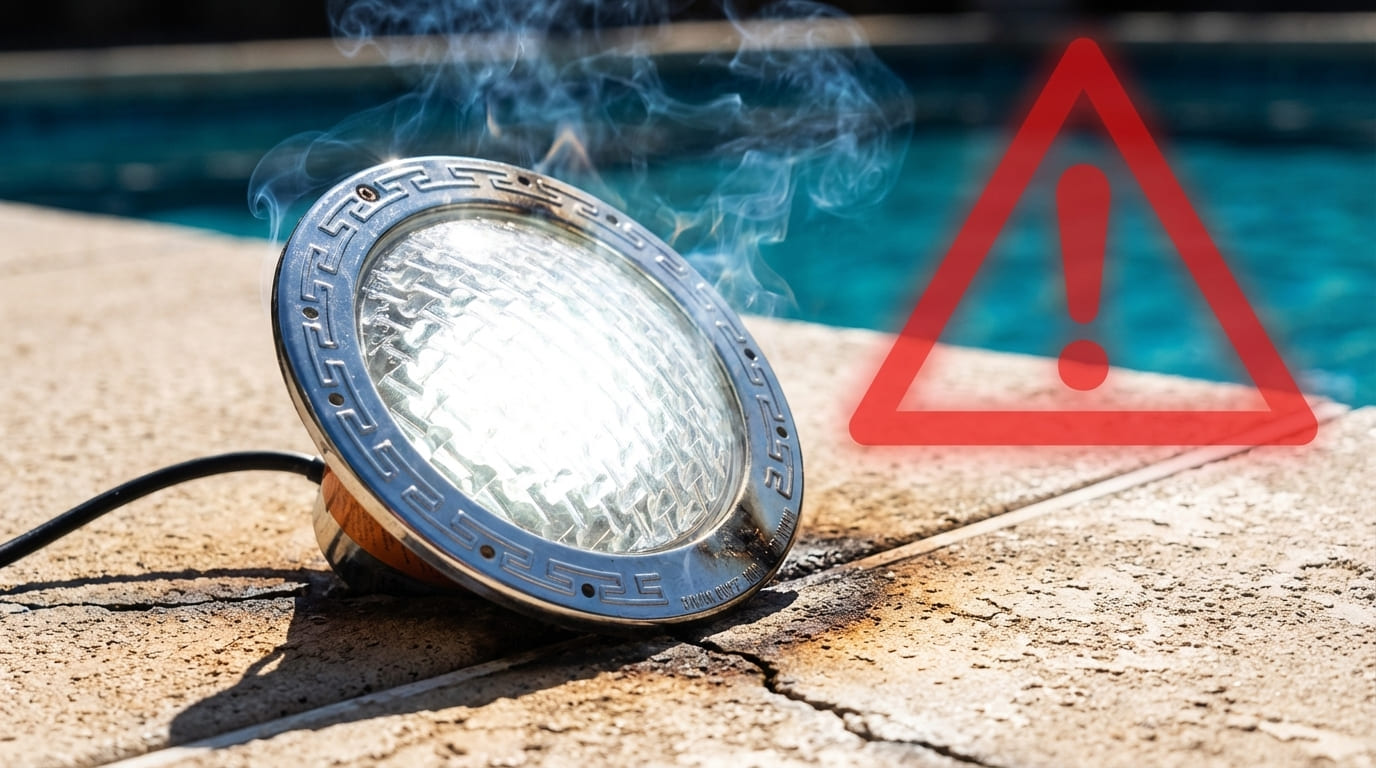 I have seen this mistake made by experienced technicians, not just first-timers. The logic seems reasonable — you want to confirm the bulb lights up before you close everything up and drop it back in the pool. The problem is that pool light housings are designed as a closed thermal system. When submerged, the cool pool water around the housing pulls heat away from the bulb continuously. On the deck, that heat has nowhere to go. Here is what actually happens during a dry run: |
Time on Deck | What Is Happening Inside the Housing |
|---|---|---|
| 0–10 seconds | Normal operation, heat begins building | |
| 10–20 seconds | Housing temperature rising quickly, still within safe range | |
| 20–30 seconds | Approaching thermal limit — this is where you stop | |
| 30–60 seconds | High risk of thermal damage to bulb and lens seal | |
| 60+ seconds | LED driver failure or bulb burnout becomes likely |
The rule is simple. Turn it on, confirm the light comes on and the color looks correct, turn it off immediately. Ten seconds is enough. Then put the fixture back in the water before you do any extended testing. Once the light is submerged and the pool water is doing its job as a heat sink, you can run it as long as you want. This applies to incandescent bulbs, halogen bulbs, and LED replacement bulbs alike. The housing design does not change just because the light source changed.
Why Can Modern Sealed LED Lights Like the GloBrite Never Be Repaired?
You have a GloBrite or a similar small plastic LED light. You can see water or fog behind the lens. Someone told you to dry it out with a hairdryer, seal the outside edge with silicone, and put it back in. Do not do that.
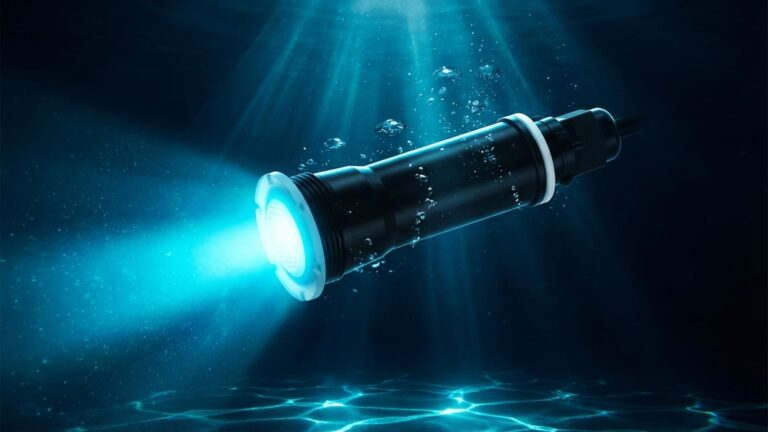
A sealed LED pool light like the GloBrite cannot be repaired once water enters the housing. The plastic shell is machine-welded shut at the factory. There is no gasket to replace, no bulb to swap, and no way to open the housing without destroying it. Once water reaches the internal circuit board, the fixture begins to corrode from the inside. Sealing the outside surface changes nothing — the damage is already happening internally.
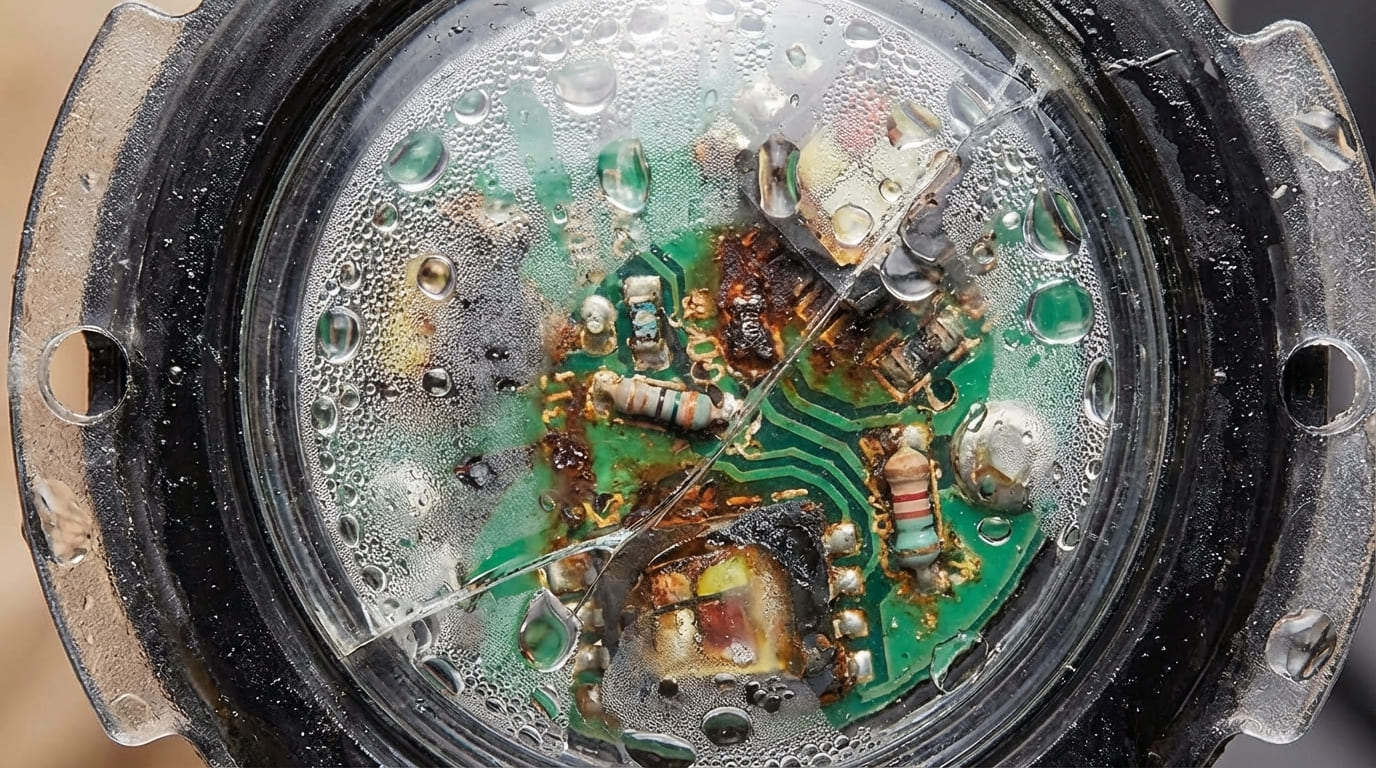
Understanding why these lights fail helps explain why no surface repair can fix them. A sealed LED housing contains air. When the LEDs generate heat during operation, that air expands. When the light shuts off and cold pool water surrounds the housing, the air contracts sharply. That rapid contraction creates a vacuum effect that pulls water inward through any weak point in the shell — a hairline crack in the polycarbonate lens, a micro-gap in the weld seam, or a point where UV exposure has made the plastic brittle. These weak points develop over time through normal use. They are not defects. They are the predictable result of a hollow plastic shell going through thousands of heat-cool cycles in a chemically treated environment.
Here is what happens after water enters a sealed LED unit:
| Stage | What Is Happening | Visible Sign |
|---|---|---|
| Stage 1 | Water contacts PCB, GFCI begins tripping intermittently | Light flickers or trips GFCI occasionally |
| Stage 2 | Chlorine in the water begins corroding copper circuit traces | Light dims, color shifts, GFCI trips consistently |
| Stage 3 | Corrosion spreads across the PCB | Light stops working entirely |
| Stage 4 | Water wicks up the conduit toward the junction box | GFCI trips even with new fixture installed |
Applying silicone to the outside of the lens does not stop Stage 2, 3, or 4 from continuing. The water is already inside. The corrosion is already in progress. The only correct response is to remove the entire fixture — housing and cable — from the conduit and install a completely new unit. Leaving a water-damaged sealed LED in the pool while it continues to corrode will eventually cost you a conduit cleaning job on top of the fixture replacement.
What Is the Permanent Upgrade That Stops This From Happening Again?
You have repaired your traditional light or replaced your sealed LED. You are already thinking about when this will happen again. That is the right question to ask right now, before you put the new fixture in the water.
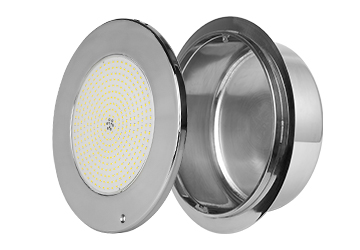
The only pool light design that cannot trap water, cannot develop internal condensation, and does not rely on a gasket or a weld seam to stay dry is a fully resin-filled LED light. The entire interior — LEDs, circuit board, driver, and all wiring connections — is cast in solid resin at the factory. There is no air inside the housing. No air means no thermal expansion, no vacuum effect, no condensation, and no physical space for water to enter.
I want to speak plainly to two different people reading this section.
If you have been running traditional niche lights for years, you already know the rhythm. Every few seasons you pull the light to the deck, find a cracked gasket, find rust building up around the socket, clean everything out, order parts, and put it back together. The repair itself is not hard. But it is time, and it adds up. A resin-filled LED replacement drops into your existing PAR56 niche and connects to your existing wiring. The maintenance cycle disappears because the failure mode disappears.
If you just replaced a GloBrite or a similar sealed LED unit because the lens cracked and the housing flooded — buying the same design again means buying the same outcome. The hollow plastic shell will go through the same thermal cycles. The lens will develop the same micro-cracks. The same vacuum effect will pull water through the same type of weak point. The timeline might be three years or five years, but the result is the same.
| Here is a direct comparison of how these designs handle the failure modes that matter: | Failure Mode | Traditional Niche Light | Sealed LED (e.g., GloBrite) | Resin-Filled LED |
|---|---|---|---|---|
| Gasket aging and compression loss | Yes — service required every 3–5 years | No gasket, but lens seal degrades instead | No gasket exists to degrade | |
| Thermal expansion and vacuum effect | Yes — pulls water past aging gasket | Yes — pulls water through lens micro-cracks | No — solid resin has no air to expand | |
| Water reaching circuit board | Yes, when gasket fails | Yes, when lens cracks | Physically impossible — PCB is encased in solid resin | |
| Internal condensation | Yes | Yes | Cannot form — no air gap exists | |
| Repairable after water entry | Sometimes, if socket is intact | Never | Failure mode does not occur | |
| Routine service interval | 3–5 years | 3–5 years (full unit replacement) | None required |
The resin is not a coating. It is not a sealant. It is the entire interior of the fixture. The circuit board, the LED array, the driver, and every wire connection is permanently surrounded by solid material. There is no air pocket anywhere inside the housing. Heat is conducted out through the resin and the housing shell directly into the pool water. The thermal expansion problem does not exist because there is no air to expand.
We supply resin-filled LED pool lights as direct drop-in replacements for PAR56 niche installations and as replacements for GloBrite-style nicheless setups. These ship directly to contractors without distributor markups and without the warranty paperwork that comes with big brand replacements. Contact us here if you want to know which model fits your current installation.
Conclusion
Water inside a pool light lens is a repair job for traditional fixtures and a replacement job for sealed LEDs. Either way, resin-filled technology is the upgrade that removes this problem from your maintenance schedule for good.